Whether you’re setting up a new bow or adding a new sight to your old bow, getting on target isn’t particularly hard, but you want to do it right to ensure consistent arrow placement.
The first critical piece of the puzzle is attaching your sight to the riser securely. Follow the sight manufacturer’s instructions and make sure you tighten the bolts snugly so the sight doesn’t move and cause erratic shots. But don’t overtighten, which could strip the bolts or damage the sight.
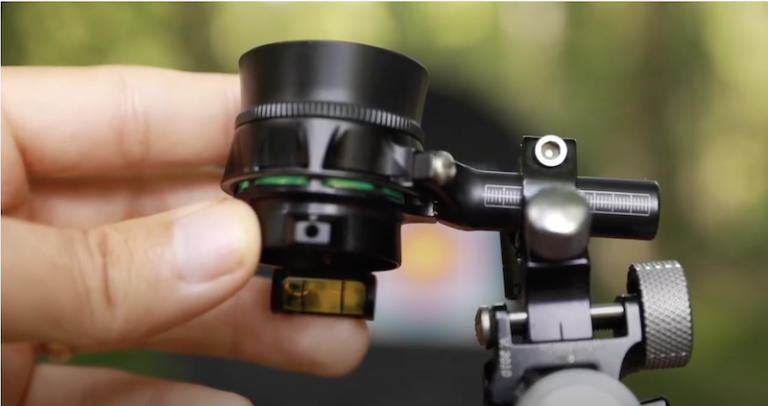
Use a bow level that attaches to the bowstring to ensure the sight is level. This guarantees any adjustments you make to the sight will be true vertical or horizontal movements. You can use your sight’s bubble level in a pinch, but a bow level is a better option.
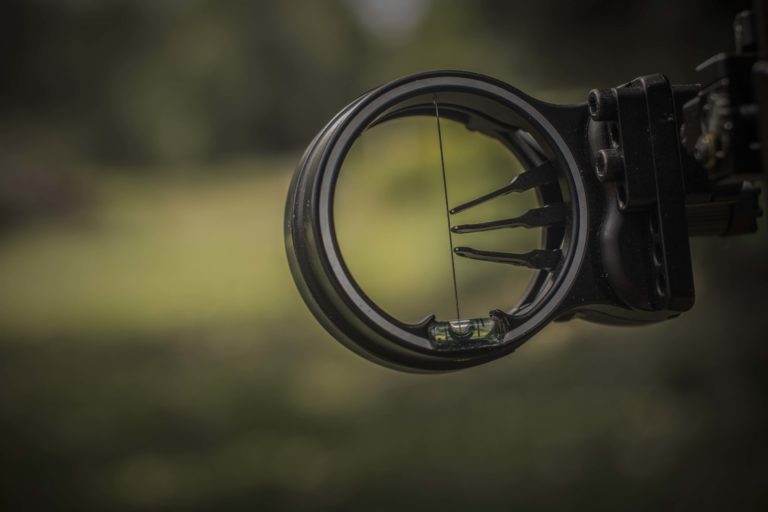
If the sight isn’t already set up this way, position the pins roughly in the center so you’ve got room to make windage and elevation adjustments.
Now it’s time to bring your bow to the range. Set up close to a large target, say 5 yards, so you don’t miss and damage or lose an arrow. This is chip-shot distance, but concentrate and use your best shooting mechanics to make a three-shot group. Shooting a group establishes consistency and eliminates any outliers. A group that is scattered could also indicate a loose sight or shooting flaws.
Note the center of the group. Move your sight the direction you need your arrows to move to hit the bull’s-eye. For example, if you’re shooting high, move your sight up. If you’re shooting left, move your sight left.
After adjusting the sight, always tighten it securely.
But what if you need to make both a vertical and a horizontal adjustment? For example, what if you’re shooting low and to the left? The rule of thumb is to do one adjustment at a time. Focus on just the horizontal adjustment. In this case, slide the sight left, tighten and shoot another group. Keep adjusting horizontally until you’re shooting in line with the bull’s-eye horizontally. After you have the windage on target, then make elevation adjustments in the same manner, moving the sight, test shooting and moving the sight again until you’re on target. It’s important to get somewhat close to the bull’s-eye vertically so your arrows aren’t going off erratically, but it’s likely you’ll want to sight in for more than 5 yards, so you can get dialed in later.
While you’re sighting in your bow, this is also a good time to paper-tune it, which will reveal any problems with the nocking point height, center shot position, cam timing or arrow spine stiffness.
OK, you’ve adjusted your sights so you’re on target. Now it’s time to step back to whatever range you want to sight in your top pin. Generally most archers sight in their top pin for 15 or 20 yards. Each pin below the top pin will be for progressively farther distances.
If you’ve got a high-poundage, fast-shooting bow, there may be little difference in arrow trajectory between 10 and 20 yards.
There are a few considerations to make when setting up your sights. How fast do your arrows drop? And how far are you comfortable shooting at a live target? And how many sight pins do you have?
Using a sight with more pins can provide a concrete aiming point at various distances. This is particularly important for Western hunters, who often take longer shots in open country. But if you are restricting yourself to shorter shots — say 40 yards or less — you may not need as many pins. Having more pins covers up more of your target, and it can also slow down your shooting as you take time to choose the correct pin.
Shoot a group of arrows at the distance you’ve chosen for your top pin, say 20 yards. Move your sight up if your group is hitting high; move it down if you’re hitting low. For the top pin, you can use the gang adjustment to move all the pins at once.
Once you’ve got the top pin sighted in, step back to your chosen distance for each subsequent pin and repeat the process. However, after sighting in the first pin with the gang adjustment, you’ll have to move each subsequent pin individually to get each sighted in properly.