Shooting on flat ground is the norm when practicing and sighting in bows. But bowhunters rarely shoot from flat ground. Uneven terrain tests our accuracy, as does steep vertical angles.
If you tilt your bow, or if your sight’s third axis isn’t aligned, you’ll miss left or right by an inch or more, depending on the distance and the bow’s cant. That might sound minor, but an inch in bowhunting can separate quick kills from long tracking jobs.
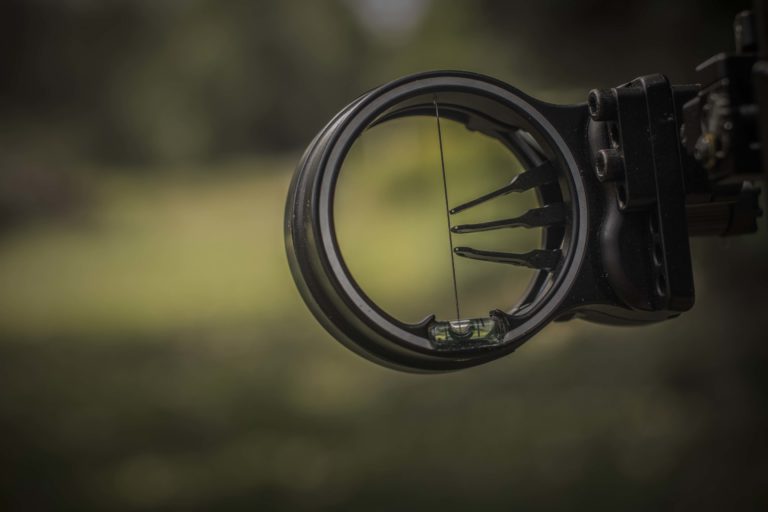
Your sights include simple solutions. Sights for compound bows often include a level that makes it easy to hold your bow straight. When you reach full draw, glance at the level to ensure its bubble is centered. Correct your bow’s position as necessary to level it, and then shoot. For your sight’s level to work, however, it must be level itself.
Each axis fixes a different problem when aligned. Photo Credit: ATA
You can’t just screw a sight onto your bow and expect accurate readings. The sight level must be calibrated once installed to ensure it reads true. You can adjust it with sight-leveling tools, or take your bow to an archery shop and let experts adjust it.
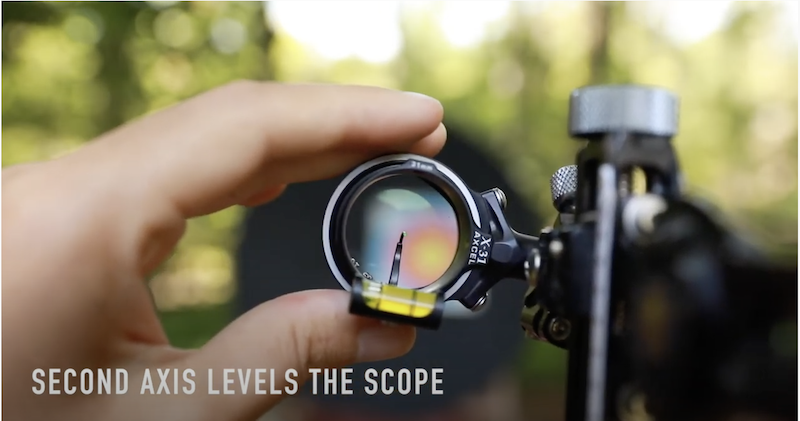
Most sights also have three axes for leveling. The first axis adjusts where the sight’s pin housing attaches to its extension bar. That axis maintains left/right consistency as you adjust the sight up and down. The second axis levels the sight’s level. The third axis levels the sight for shooting upward and downward angles. Think of the second axis like leveling a shelf, and the third axis as adjusting the sight housing like a door on hinges.
You’ll find many ways to level bow sights. The technique you choose is personal preference. Watch this video to see how it’s done.
Once you or the archery pro makes the adjustments, double-check the sight’s third axis setting. This task is called “shooting in” your third axis. It’s much like sighting in your bow.
To begin, find a steep downhill shot of at least 30 yards, but preferably farther. Shoot this steep angle to compare how your bow shoots on flat ground. Watch for left or right impacts, because third-axis adjustments affect the horizontal plane. Shoot several arrows while making sure your bow is level. Ignore any shot that wasn’t your best.
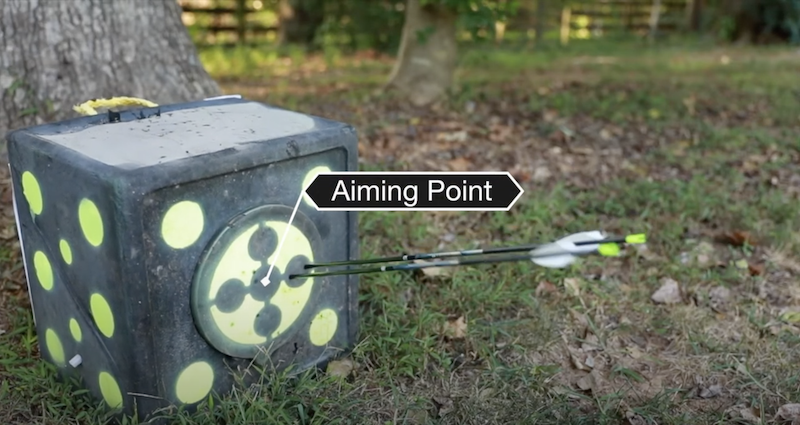
Shoot a round of arrows to check your sight’s accuracy. Adjust accordingly. Photo Credit: ATA
If you’re a right-handed archer and your arrows group right, adjust the third axis by swinging the sight toward you. If your arrows hit left, swing the sight away from you. If your arrows group in the middle, you’re set. You can shoot uphill or downhill confidently.
Shot placement is vital in bowhunting. It requires properly set up equipment, which is best done at an archery shop. To find a nearby shop, click here.