Processing a deer might seem intimidating, but the right tools and a little know-how will help you handle every part of the job. By taking a DIY approach, you’ll save money and control how your meat is handled.
After gutting your deer and bringing it home, you need to hang it. Use a gambrel and pulley system to hoist your deer off the ground or floor. Hanging the carcass helps cool the body cavity and position it for processing.
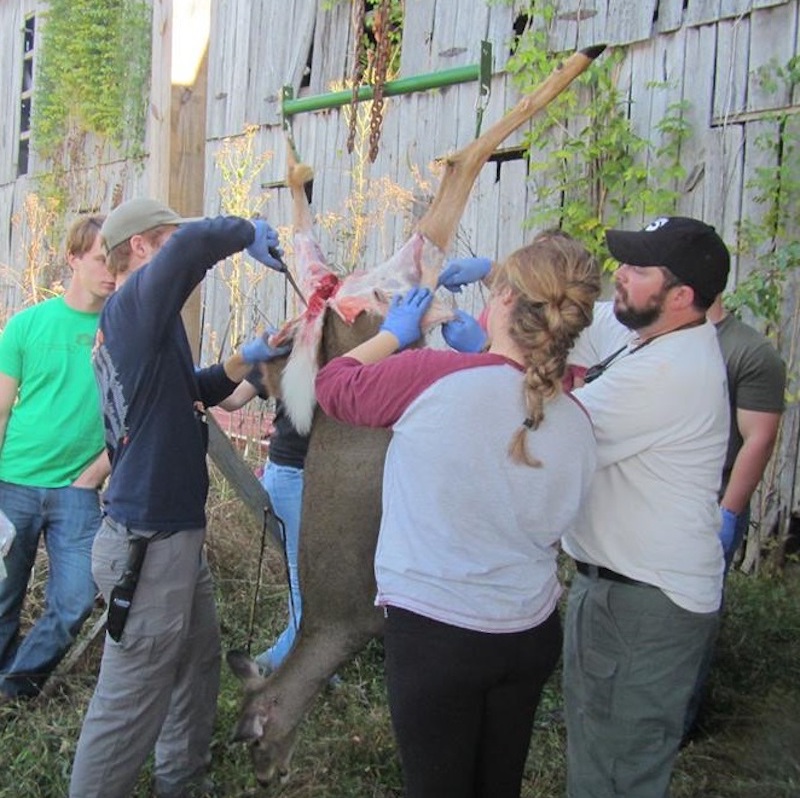
Start by hanging the deer upside down and removing the hide and hair. Photo Credit: QDMA
With the deer hanging upside-down by its rear legs, peel off the hide starting at the rump. You’ll need to use your knife to get started, but you can do most of the skinning by simply pulling the hide downward with your hands. The hide can be slippery, so grab it with a dry towel. That will keep your hands clean and help you work faster.
Once you’ve removed the hide, examine the carcass for stray hairs. Removing hair by hand is tedious, but a handheld propane torch burns it off quickly from neck to rear legs.
Once the carcass is clean, cut it into quarters starting at the shoulders, which are easily removed by pulling the legs away from the carcass and cutting behind the shoulder blades. Then, remove the inner tenderloins beneath the spinal column inside the carcass. After that, rotate the deer so you can work on its back.
Starting just above the hips and working toward the neck, cut along the spine to remove the backstraps. If you like BBQ ribs, remove them from your deer with a bone saw. Package them into meal-sized portions that are ready for the grill and your favorite sauce. Remove all of the meat from the bone in the rear quarters, then slice the spinal column, severing the tendon that connects the hip bone’s ball to the pelvic socket.
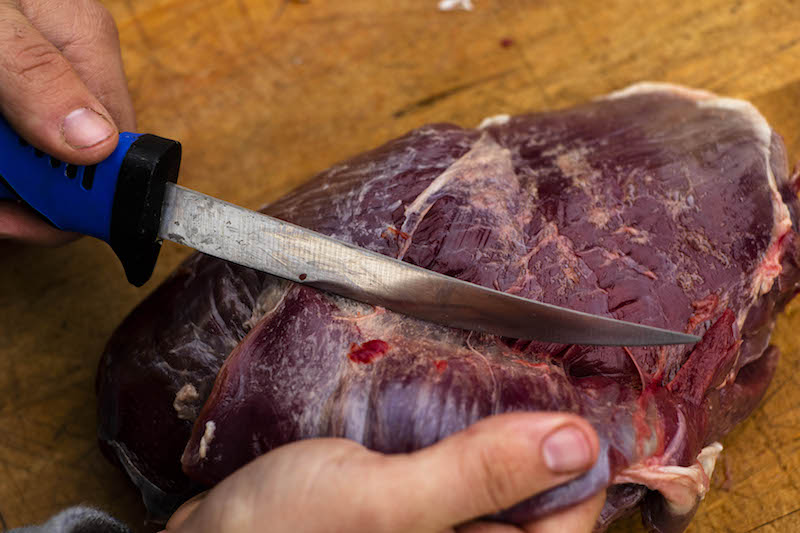
Make sure you have a good knife, and a way to package the meat when you’re done. Photo Credit: ATA
In addition to a meat scale, sharp knife, and meat grinder, you’ll want to keep a vacuum sealer handy. Deboned deer yield countless steaks, roasts, sausages, and scrap meat for ground venison. Tenderloins and backstraps should be packaged individually once removed, and the rest of the meat should be filleted from the bones.
You’ll find endless options for packaging your venison and preparing it for meals. If you enjoy tacos, burgers or lasagna, consider grinding most of the meat, even the cuts that make great steaks and roasts. A quality electric meat grinder quickly turns scraps and other meat into ground venison. Divide it into 1-pound packages and vacuum seal them. You can use ground venison for virtually any ground-beef recipe, so get creative in the kitchen.
On the other hand, if marinated roasts in slow-cookers and venison steaks sizzling in cast-iron skillets make your mouth water, stock up on cuts from the sirloin tip, bottom round, and other large muscles in the shoulders and hindquarters. Venison is very lean, however, so carefully monitor how long you cook or grill it. Overcooked venison makes a chewy, flavorless meal.
There’s no right or wrong way to process deer. The more deer you cut up, the more you’ll develop a system that delivers meals you enjoy most. Most importantly, you’ll know the satisfaction of providing organic, free-range meat for you, your family and close friends.