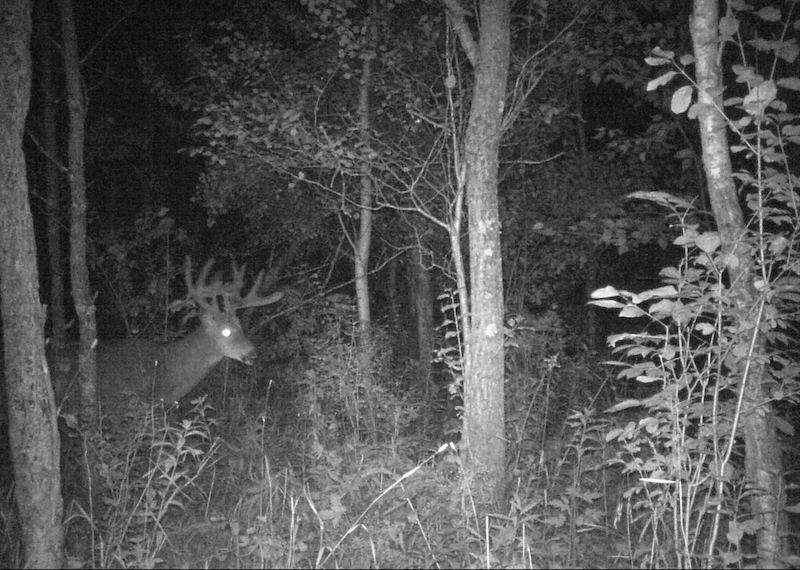
While hunting shed antlers recently, I stumbled upon a giant 5-point whitetail shed. With its long, sweeping main beam, skyscraping tines and sheer heft, it came from a buck I dreamed of shooting.
But the antler was mostly buried in leaves. Sunlight bleached its visible parts, and leaf tannins discolored its buried sections. The shed was still glossy and, miraculously, squirrels hadn’t chewed it. I figured it was a year or two old. Was the buck that dropped it still alive?
That question burned inside me. I had to find out if that was still around. He had instantly vaulted atop my hit list. I vowed to place trail cameras where I’d found the antler as soon as bucks began growing antlers in spring so I could solve this mystery and plan my fall hunting strategies.
Although most bowhunters run trail cameras in fall, more are putting them out in summer to gather information about deer well before hunting season. Summer surveillance helps assess how many bucks are around, and if any of them are large. You’ll also get a peek at fawn production. If every doe has twins, the herd is likely in good health and you might need to thin the antlerless population. In contrast, if you see does with one fawn or no fawns, you might need to let the herd rebound.

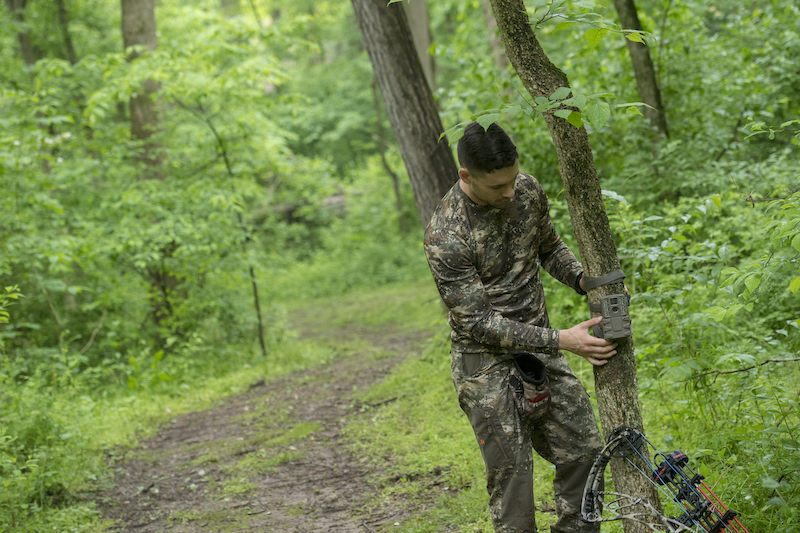
Place your trail camera near food sources, water sources, or an active trail. Photo Credit: Joe Shead
Summer trail-cam sites often differ from fall locations. You won’t find fresh rubs or scrapes in summer. Most bowhunters place trail-cams near food, water or mineral sites. All deer visit these areas, providing an overall picture of the herd.
Food plots, and soybean and alfalfa fields, are great places for summer trail-cams. They attract deer, and because their plants don’t grow tall, they provide trail-cams an unobstructed view. A good option is to place a camera at one (or all) of the field’s main entry points. Set the cameras to a high shutter speed to capture walking deer, and a short delay to capture multiple deer entering the field. Another option is to put a camera on a T-post at midfield.
Some cameras have a “field scan” or “plot scan” mode to take photos at set intervals, without being triggered by motion. The idea is to capture deer feeding at distances that wouldn’t trigger the camera, or avoid getting photos every time a deer in range moves.
Mineral licks – natural or artificial – are excellent sites for summer cameras. If you want to make a lick, make sure it’s legal in your state. Mineral licks attract deer to specific spots, making it easy to place cameras. If you lack a suitable tree for a camera, mount it on a T-post. Deer linger at mineral licks, so use slower shutter speeds and longer delays between photos.
Waterholes also attract deer to specific sites. The attraction increases if water is in short supply. Find a natural waterhole or make your own by digging a hole and placing a plastic basin flush with the ground. Fill the tub with water, place your camera, and set it for slower shutter speeds and longer delays.
Terrain funnels are good trail-cam locations year-round. They concentrate deer and force them into narrow travel corridors. Natural funnels include strips of woods, ridgeline spines, and dams crossing beaver ponds. Some landowners and property managers strategically drop trees for browse and cover while simultaneously funneling deer. These pinch points make great camera setups. Use fast shutter speeds and short delays.

It is harder to catch footage of deer on trails, but be patient and try different locations. Photo Credit: ATA
Deer trails can be good sites for cameras, but they’re also a gamble. Deer sometimes use specific trails only during certain seasons. Use fast shutter settings and short delays on trail setups. If you get few photos along a trail, move your camera.
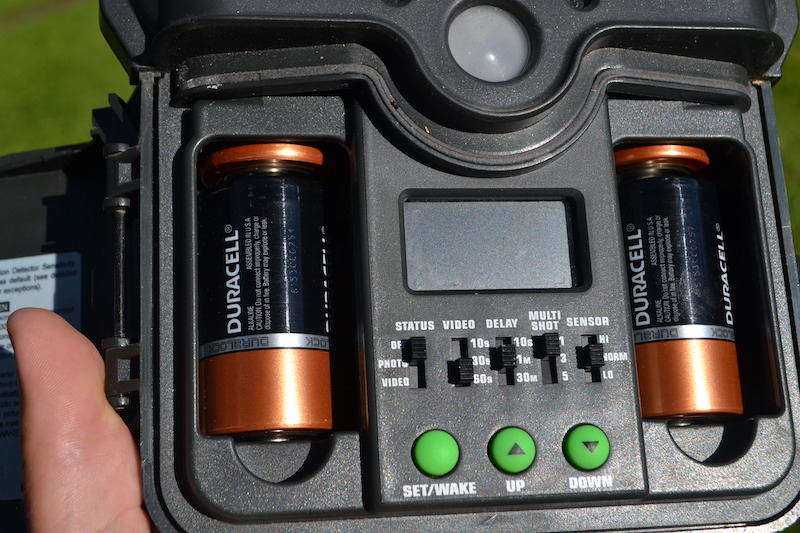
How often you check your cameras depends on their type, battery life, SD-card capacity, and your ability to visit the cameras. Lithium-ion batteries last longer than alkaline batteries, and require fewer replacements. Shooting in video mode uses more power than do still photos. If you’re getting few photos, of course, the batteries last longer, but you’ll want to move the camera to a better location. A camera set for a short delay where deer congregate takes too many photos, as does placing a camera where vegetation sways in the breeze.
Another option is to set up remote cameras that use solar power, and text or email you every photo they take. These cameras can stay out a long time without checkups. Their downside is that they’re expensive to buy and operate because they require a cellular data plan. Still, they’re great options if you live far away and can’t check your cameras often.

Check your cameras as little as possible, letting your SD card fill up and minimizing contact. Photo Credit: Joe Shead
Checking cameras every two weeks is a good rule. You won’t spook deer regularly, but you’ll be able to change batteries before they die and SD cards before they fill.
Minimize your intrusion when checking cameras. Deer in farm country might be relatively used to human activity in fields, so you can check cameras in fields or food plots with little disturbance. Placing cameras deeper into the woods is more intrusive, so put them where you can slip in and out with little disturbance and where the wind usually favors you. Check your cameras the same way you’d prepare for a bowhunt. That is, wear rubber boots and use scent-control tactics. Check your cameras on rainy days to further reduce your presence.
If bow season opens in August or early September, deer you capture on camera in summer might still might be using the same food sources and travel routes when the opener arrives. Those routines often change as antlers harden, coats change color, and rutting activity approaches. Although some camera sites remain productive when fall arrives, you might want to move cameras to rubs, scrapes, staging areas and buck trails.
Placing trail cameras in summer is a great way to keep tabs on your deer herd, plan for archery season, and keep you excited about deer hunting during the offseason. Make this project part of your year-round deer plan.
And what about that big 10-pointer I mentioned atop this story? I hope I’ll have more information to share with you by Labor Day.
SyntaxError: Unexpected token '<', "<html> <h"... is not valid JSON
SyntaxError: Unexpected token '<', "<html> <h"... is not valid JSON